Monday, November 24, 2014

Cutest Key Fob Tutorial


Cutest Key Fob Tutorial


Materials Needed

·        Two 2.5”x 10.5” print fabrics

·        One set of 1.25” Key fob hardware

·        One 10.5”strip of 1” cotton or nylon webbing


Instructions for Assembly

1.     Place outer fabric wrong side up on ironing surface. Place 1”webbing down center of print fabric.

2.     Wrap fabric around webbing and steam press.

3.     Place inner fabric wrong side up on ironing surface. Fold in one long edge of fabric and press. Fold and press opposite edge.

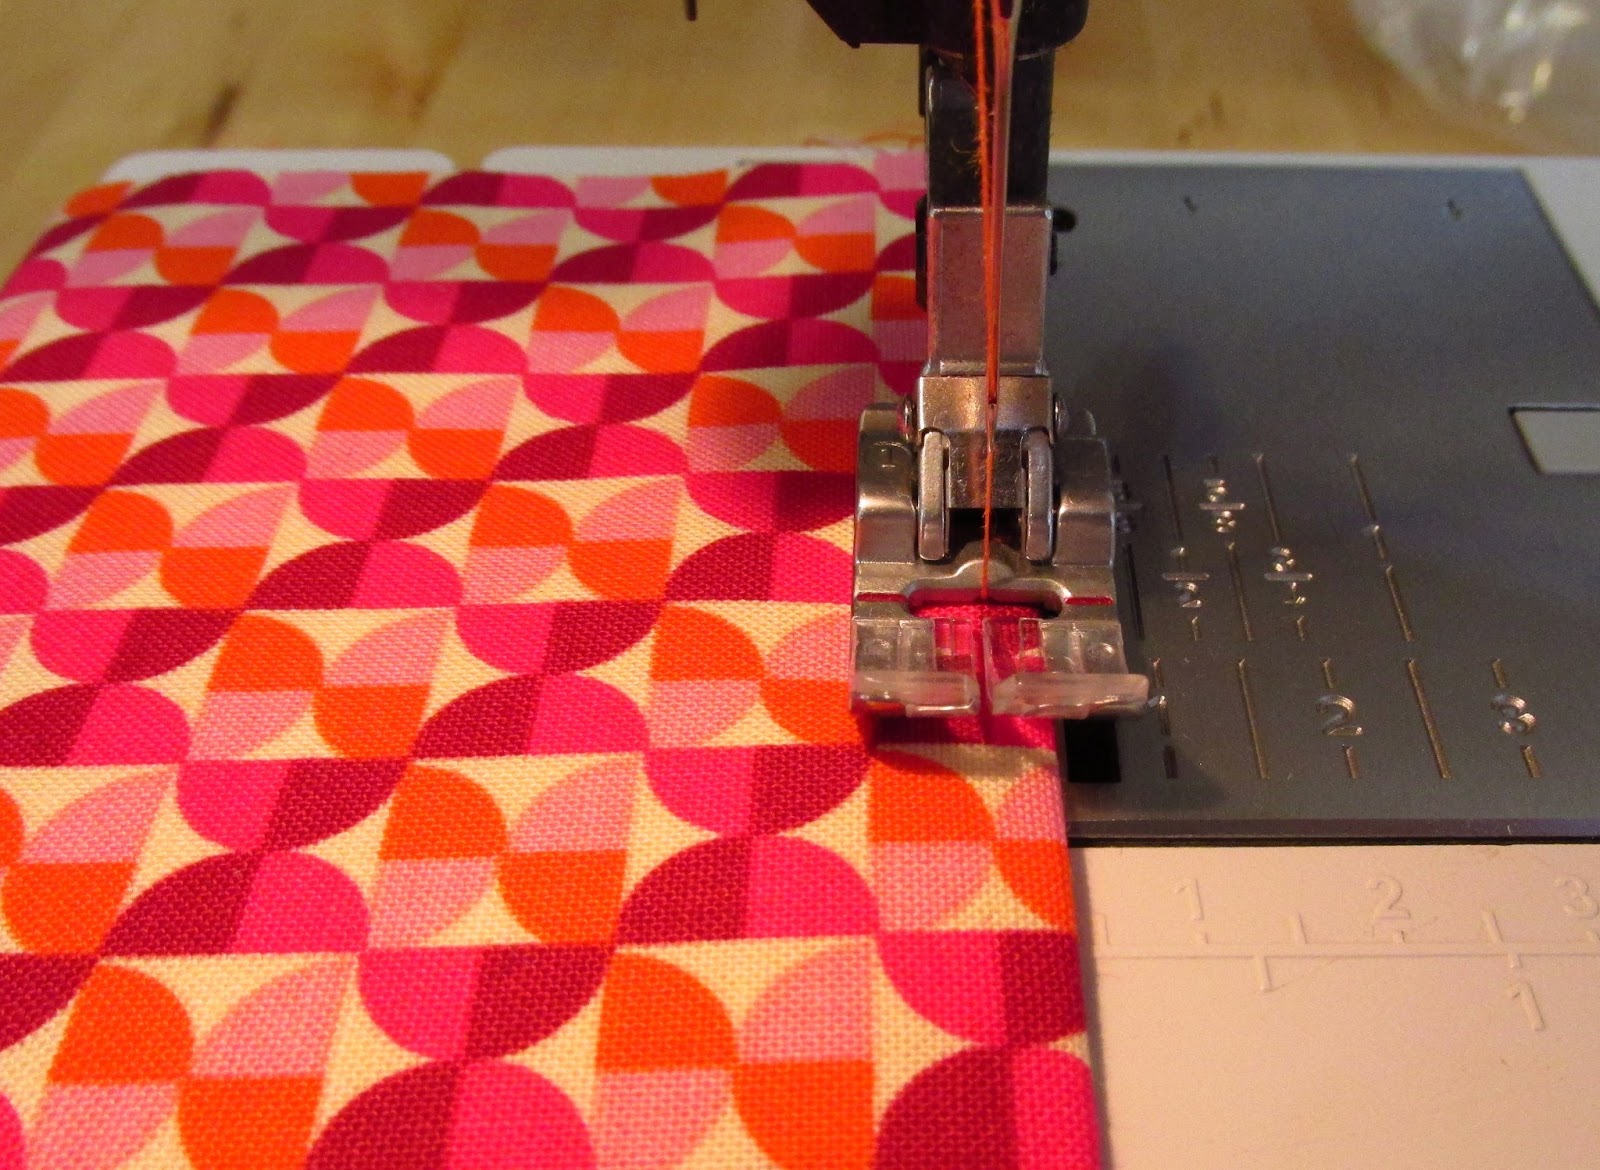
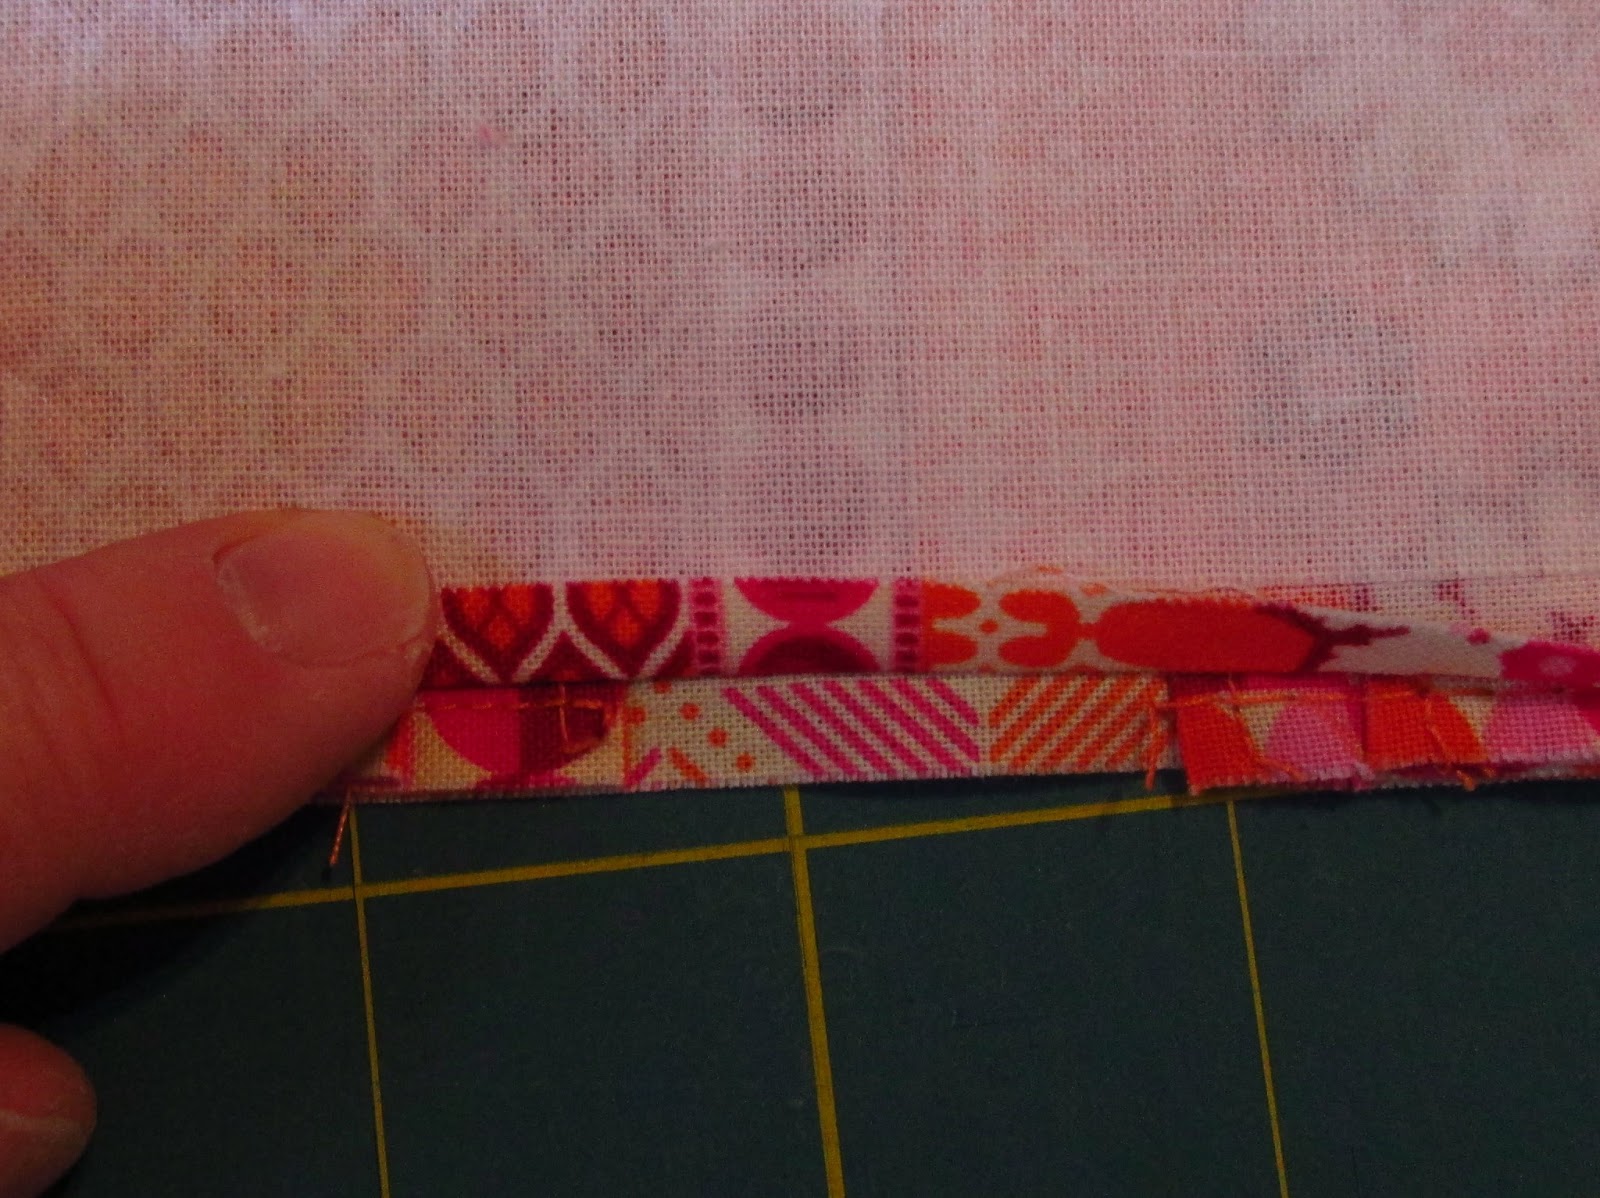
4.     Place outer and inner pieces wrong sides together. Top stitch just inside edge of inner strip on both edges. Repeat top stitching 1/4” inside this seam on both edges.

5.     Fold in half with the inner fabric towards the inside. Insert into opening in metal hardware. Clamp down with pliers to secure.


Sunday, June 22, 2014

Western Washington Shop Hop 2014 Block Tutorial Available!

Hello Western Washington Shop Hoppers!! 

As promised our tutorial for our shop's block is now available. 

To find our tutorial please click on our tutorials page. 

We are exited to be boosting our social media output this year with more blog postings, Facebook updates, Instagram photos, and constant online shop additions. Please check back in with us regularly to see what's new from The Quilting Loft in Ballard.

We look forward to sharing some stories and photos with you in the next few days about our shop's experience over the long weekend of Shop Hop 2014. It was such a delight to meet some new friends.

I can only imagine what treasures you have all found while on your long and tiresome journeys throughout the Puget Sound and beyond! I was truly inspired this weekend by all the Shop Hoppers streaming in and out of our decorative classroom. It is so refreshing to know what a fun and dedicated community of sewists there are involved in this fantastic annual event.

We would like to thank all of you for your love and support of the Western Washington Shop Hop event and hope to see next year with new fabrics, new ideas and new friends!


Wednesday, January 15, 2014

Introducing: Cheryl Kuczek

Cheryl Kuczek is one of our instructors for 2014. She will be teaching sewing classes based in custom fashion design, as well as, several Handbag Design classes adapted from her patterns,at Paradiso Designs, with many opportunities to develop your own personal style.Cheryl is best known for her work with pleathers. She has created unique and easy to learn techniques to using pleather in her designs. Due to this love of pleather Cheryl is a great source to find very realistic looking pleather products for purses and other projects you've been scheming about! Cheryl’s classes are a fun way to learn about the essence of design while creating an accessory or garment to develop your new skill set. After leaving Cheryl’s class you will have the ultimate feeling of satisfaction and pride that comes from creating something beautiful and unique to you and your styling desires.

At The Quilting Loft Cheryl will be teaching the following classes and lectures:

Cheryl's Images for Her Design Process
Handbag Design Lecture Thursday January 16,2014;  6:30 - 8:00 PM. Cheryl will help you develop a plan to create a customized handbag with designer qualities, including Cheryl's pre-cut pleather kits to create a high-end look. You can talk with this industry insider about making your design dreams become a reality. Cheryl is ready and waiting to share her knowledge and passion for handbag design, pattern drafting and fashion couture. Get the confidence you need to finally get started! Cost: $15.00


T-Shirt Class with Cheryl Thursday February 6, 2014; 6:00 - 9:00 PM. Learn how to make an exact pattern from a t-shirt you cherish! Most importantly, you will learn how to make it fit just right so you look fabulous! Cheryl will walk through a variety of embellishment ideas to help bring out your creativity with fabrics, notions, ribbons and trims. All garment construction will be done on your own domestic sewing machine. Cost: $30.00


Make Cheryl's Lolita Skirt on Thursday April 24, 2014; 6:00 - 9:00 PM.
The Lolita skirt formula is a stylish skirt that will work for any size. The formula is based on your own measurements so you will have a great fitting skirt with perfect proportions. The formula has great flexibility as you can make it any length desired! Cheryl will walk through some fun pattern play ideas with contrasting skirt body with a trim to pop! Cost: $30.00


Handbag Design Weekend Workshop with Cheryl running Saturday May 3, 2014; 11:00A - 4:00P & Sunday May 4, 2014; 12:00 - 5:00 PM. Bringing design and function together to create the coolest handbag with an amazing color story. This 2 day workshop starts with drawing and designing your project. You then move through pattern drafting and testing in order to move forward with your design. You will then choose from the interfacing reference guide provided to find the correct stabilizer for your needs. (If you've ever had stabilizer questions for someone...now is the time to find out!) Of course you will learn about Cheryl's outstanding pleather tips and tricks to create a professional look at a fraction of the price. Learn your pattern so well you can replicate it again and again as gifts! Cost: $95.00.

Cheryl Kuczek is a local pattern designer and garment artist. You may know her work under the name Paradiso Designs. Cheryl has developed her skills and techniques over the course of 25 years growing up as an instinctively creative person. In the past several years Cheryl has developed her career as an independent pattern designer and instructor. She created her own business called Paradiso Designs which she runs from her Magnolia home! She can boost such accomplishments as participating in a booth at Fall International Quilt Market 2013, drafting and publishing a successful line of 21 patterns, as well as becoming a well loved and inspirational teacher here in the Pacific Northwest!

Cheryl has jumped into the social media world more in the past few years and now has a lovely blog, website, and online shop! She can also be found on Pinterest and Facebook. Please look for more about Cheryl on our blog. We will get a chance to have a one-on-one interview with Cheryl where you will get to know more about her fashion dreams and business goals.


Tuesday, January 7, 2014

Want to take a California Vacation?!

Join The Quilting Loft and Nancy Rink as we take you on a journey through El Camino Real, "The King's Highway", via our newest Block of The Month program. Nancy Rink and her husband have been traveling through the old missions in California, writing about their adventures and the local history along the way. They are currently in the process of publishing a book called El Camino Real: Quilts inspired by Early California History  from the Kansas City Star.

While we are anxiously awaiting the release date of the book we will travel through the missions via this exciting new Block of the Month program. Nancy has created this breath-taking king size quilt as well as the entire fabric line produced by Marcus Fabrics to carry you through her travels and inspirations. 


Nancy Rink explains the fabric inspiration on her blog, "This collection is a colorful grouping inspired by California's rich history, a blend of Spanish, Mexican, and Native American traditions. Bright color and intricate motifs echo the decorative tile work  and architecture of the region."  You are guaranteed to fall in love with these bright and fun fabrics! I know they have been adding a breathe of fresh air to my winter sewing sessions.

This is a 12 month program. Our shop will be hosting the program from January 2014 - December 2014.I was lucky enough to make the sample for our shop.  I have been quilting and sewing for about 15 years and consider myself to be a confident beginner who has taken a stab at several different types of sewing techniques. I found this quilt to be a challenge but very do-able and exciting to push myself in certain areas. For instance, I have been grading myself on my points at the edges. (What fun would sewing be if we didn't try to beat our personal best every once and a while!?)  There is also a block with applique which I found to be a fun twist in the middle of the project. I have decided to just steam-a-seam the pieces for now and then use my machine to zig-zag stitch around these pieces before I have it quilted.


Each month you will receive a packet bursting with fun fabrics, block instructions and an interesting historical reference about the mission that the block corresponds to! For instance the first month highlights the Mission San Diego de Alcala founded in 1769, which is considered to be the "mother" mission of California. You will feel as if you are transported to sunny California every month as you work your way through this unique Block of the Month program start to finish! Please check out Nancy Rink's blog to see more about the making of El Camino Real Block of the Month program. She has a wonderful blog and website where you can find more high quality patterns and corrections if needed! 

My tip for block one is to make sure that you read through ALL the instructions of how to cut the border pieces from the stripe fabrics! You will need this fabric to use as the decorative border pieces of each block. 

Join our year long California adventure by signing up for the El Camino Real Block of the Month program via our online shop or in our store. We look forward to seeing your work and  posting more tips and tricks as our California road trip continues! 

My images were borrowed from Nancy Rink and Marcus Fabrics. Thank you. 

Thursday, December 19, 2013

Author Susan Beal Visits The Quilting Loft


Craft and quilt book author, Susan Beal, came to visit our shop on December 7th for a book signing. 


Susan was able to stop by The Quilting Loft while also visiting the Seattle Urban Craft Uprising. Susan signed copies of her book "Sewing for All Seasons". This book is packed full of projects that will keep you sewing all year long. Several of her projects include a classic beach bag, holiday garland, coffee mug warmer, and even homemade slippers to keep your feet cozy while you're crafting. 


We made Susan's holiday garland out of a charm pack from "In From the Cold" by Kate Spain. We decided to use it as table decoration while noting using it to trim our tree. This project was quick and easy by using 2" circles strung together to create a bright and cheery string of colors and patterns - a wonderful project for any time of year. (I'm thinking of making one as decoration for my niece's bedroom will all my pink scraps. You all know how those 5 year old little ladies need their pink fix!)


Susan had a rare treat to share with those that joined us for the book signing...she displayed her original journal used for creating the book "Sewing For All Seasons". It was a fun treat to flip through her journal and see Susan's brainstorming process for each project included in the book. 


Our Couch was transformed by Susan's bright and charming string quilt featured in the book. 
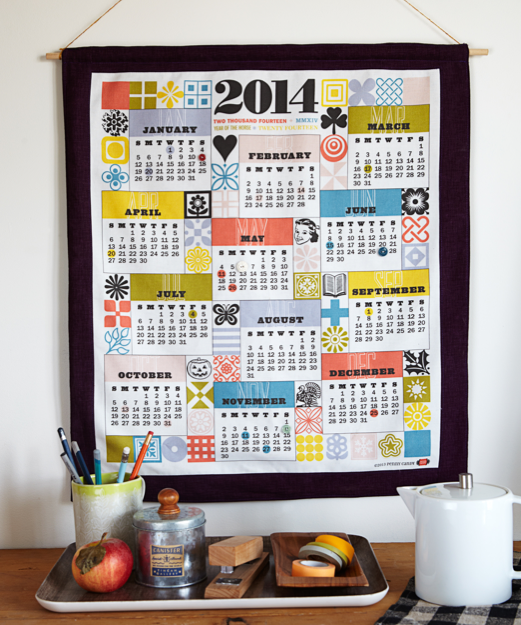
We had another visitor in our shop, Susan's friend Amy Pepper Adams, a fabric designer under the name Penny Candy Handmade. She designed the 2014 calender fabric, as shown in the photo below. Susan's book has a pattern for a quilted wall calender using Amy's fabric. You can find her fabrics on spoonflower.com.  A great idea to add a new twist to your yearly calender! Instead of buying a paper calender this year display this creative cloth calender in your studio or office this year. 


This image of the fabric calender was borrowed from Susan's blog westcoastcrafty.com. 
Susan had a drawing at our store for the kit to create a wall hanging as well as free coffee cozy kit giveaways!  We had a fun time chatting with Susan about her holiday plans that have to include her favorite hot chocolate recipe. You too can find her recipe at her blog - keep your warm and cozy while crafting this winter! 

Susan is also the author of several other books including the following:


We would love to thank Susan Beal for joining us for our holiday book signing and encourage you to add any of her books to your craft library. 


Monday, October 21, 2013

Looking for a Quilt Back at a Good Price?!

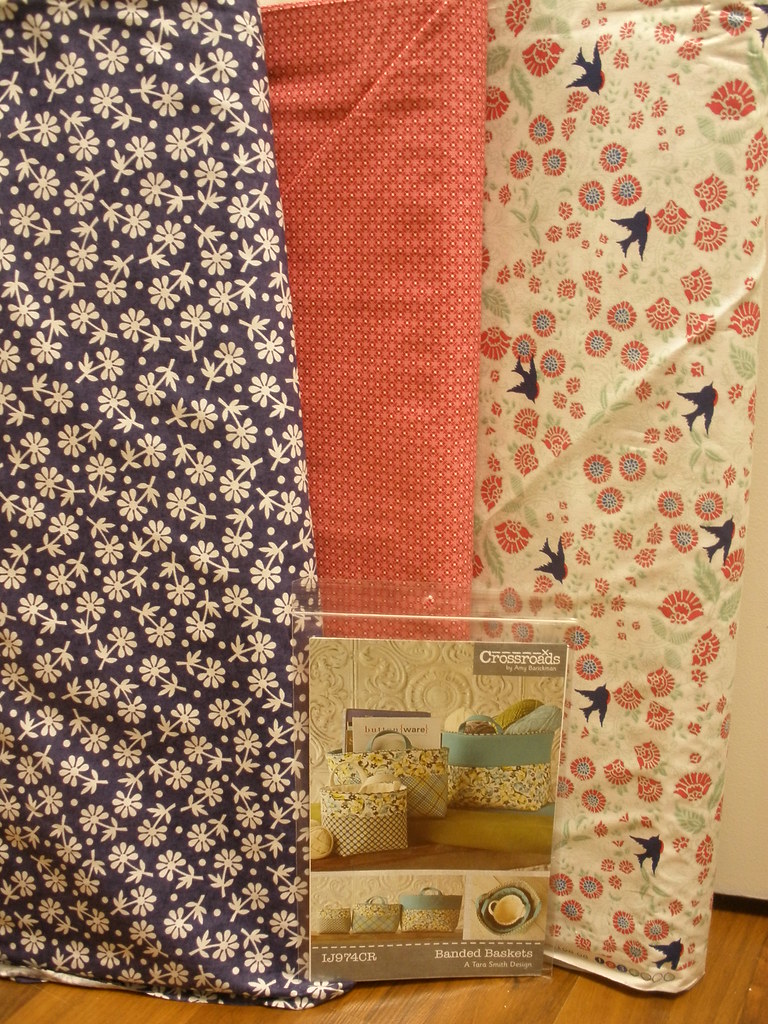
Sale Fabrics featured with Crossroads pattern.
Getting excited for the holiday season to start? Come by The Quilting Loft this week to take advantage of our End of Season Sale with 5 shelves of fabric bolts on sale for 45% off the original price. You can receive 55% off if you finish an entire bolt - great savings especially if you are looking for several yards for the back of a quilt! 

Friday, October 18, 2013

End of Season Sale

The End of the Season Sale is starting today at The Quilting Loft. 

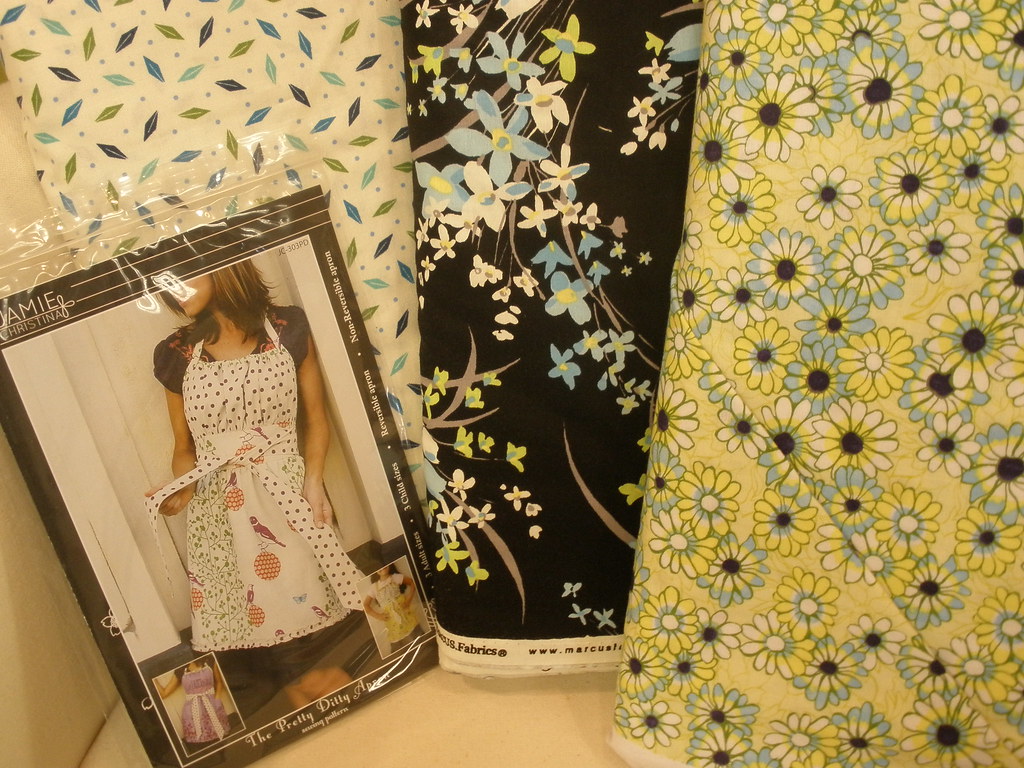
Featured here are fabrics from Studio E Fabrics and Marcus Fabrics. Also featured is an adorable apron pattern by designer Jamie Christina.

  
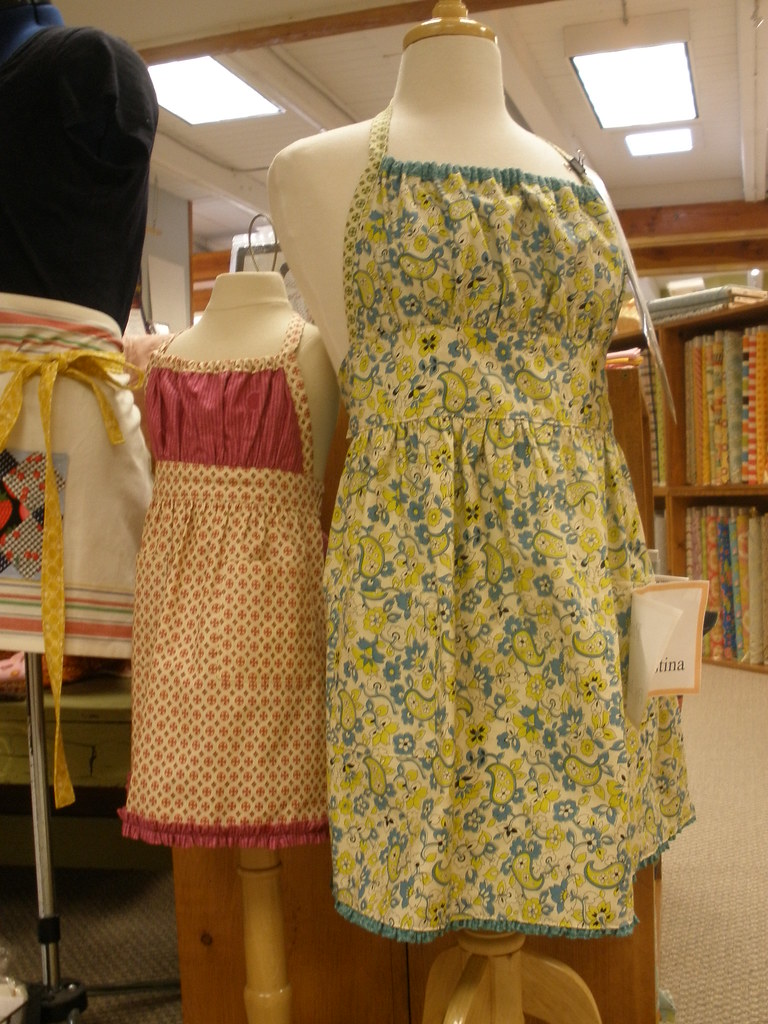
Been thinking of trying an apron pattern?! The Quilting Loft has several options to choose from.

Here at The Quilting Loft we are getting excited to dive into Fall and Winter. Our front entrance is set to inspire you for the upcoming holidays! Mean while, as turkey stuffing recipes and visions of handmade stockings dance through our heads.... we would love to treat you to some fabulous deals on some of our Summer and Spring time favorites at an outstanding 45% off! 

Receive the treat bag pattern for free with the purchase of a charm pack!
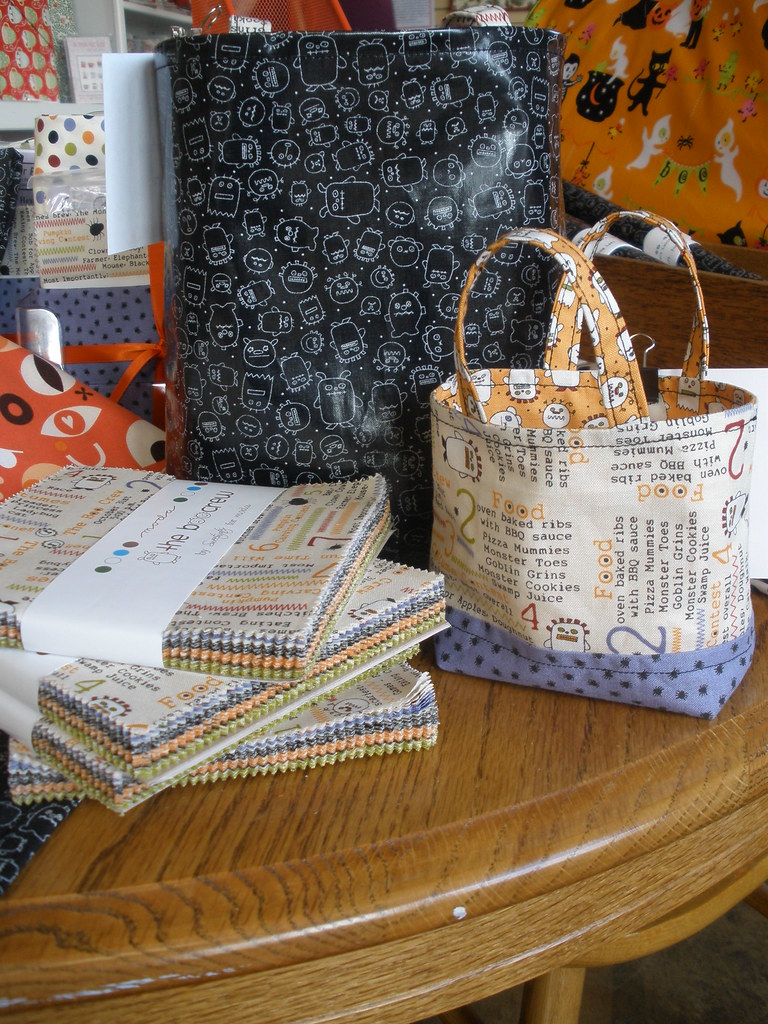
Home-made trick or treat bags made from Moda's new line, "The Boo Crew".  We have lots of pre-cut charm packs as well as some laminated cottons for creating weather proof treat bags in case Halloween is a little soggy this year. 

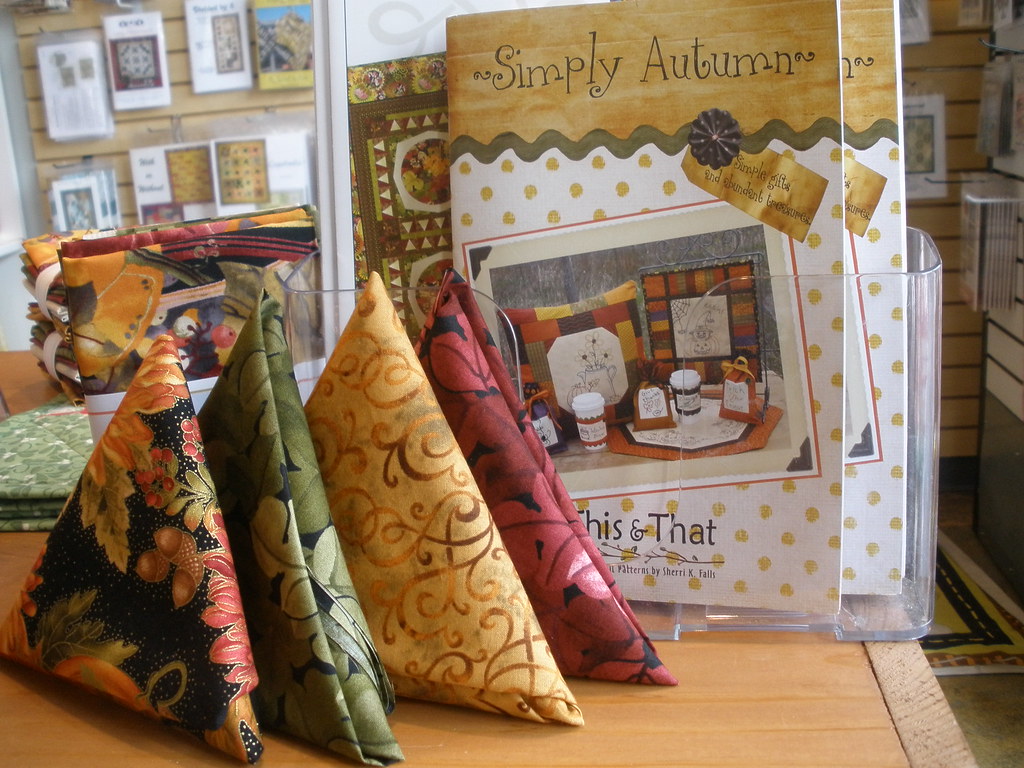
We have some gorgeous nature themed prints to help make your Thanksgiving gathering shine this year.

Come by and visit our shop before this great End of Season Sale comes to an end! 


Wednesday, October 16, 2013

The Quilting Loft Welcomes Fall with a Super Stash Sale! Oct 18th - 28th.


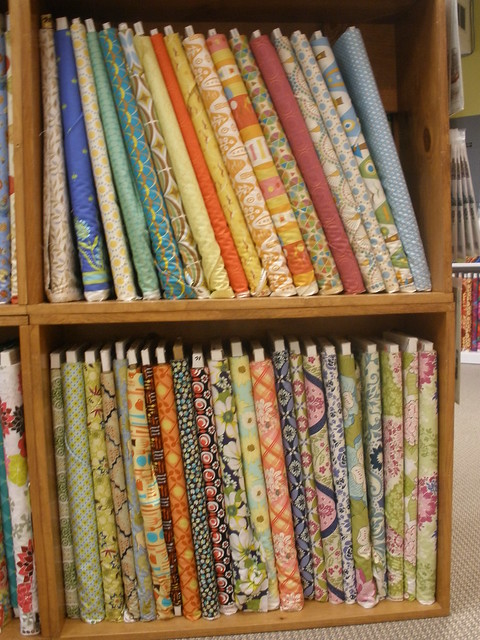
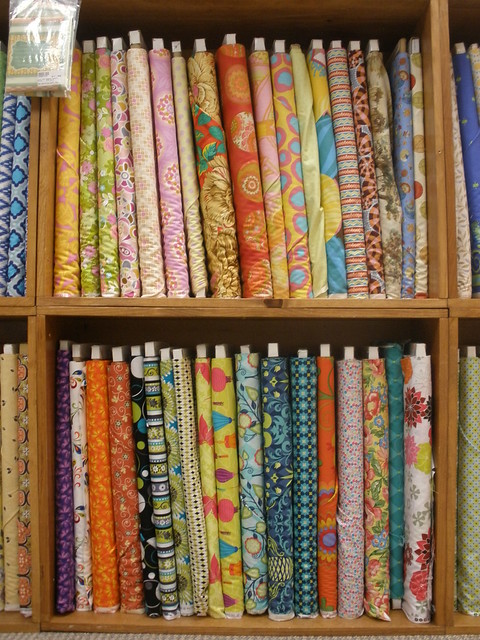
Come celebrate our Fall sale from October 18th - October 28th. We will have a large selection of  designer fabrics on sale for you! All Bolts shown will be 45% off, 1/2 yard cut minimum. If you finish the bolt you will receive 55% off - amazing savings! 

 
Get started on crafting holiday gifts early this year!
Know someone who has always wanted to start quilting?! Invite them to start NOW!

  
Looking for something fun and bright to add to your stash?!
 
Always wanted an adorable apron to wear on a cozy Fall day?!
 
Yes! ALL fabrics featured are 45% OFF!
We have lots of exciting patterns and projects to choose from to turn these beautiful fabrics into gorgeous home-made gifts, purses, pillows, pajamas, quilts and more! Remember the sale is on from OCTOBER 18th - 28th so hurry in while supplies last!


Friday, May 10, 2013

Teeny Pack Clutch Mini Tutorial


Here's another project that you can make with just 1 teeny pack and a bit of batting (flower is a separate bit of bling.)
This clutch can take on many different looks depending on the fabrics you choose.  Add the wrist strap or not.  Great as a little purse or for keeping small items separate in a larger tote or a suitcase.
Choose your own embellishments (pins, button, etc.) or leave it simple!

 Materials:
1 Teeny Pack
Scrap of batting approx. 11" x 20"
Large sew-in snap or 1 1/2" piece of velcro
Coordinating thread

Cutting:

  1. Open up the teeny pack and iron all of the fabrics.  Choose 1 fabric for the flap. 
  2. Trim the flap fabric to 9"  x 10 1/2" and then cut it down the middle for 2 pieces measuring 4 1/2" x 10 1/2".  Set aside.
  3. Layer the 4 remaining fabrics on top of each other and cut/straighten one long edge.  Cut 4 strips, each 2" wide. 
  4. Using a 1/4" seam allowance, sew 2 sets of 7 strips each along the long edges, in any order you wish.  Press the seam allowances in one direction.
  5. Trim both sets to 10 1/2" wide by 10" tall.
  6. Pin flap to top edge of pieced fabric right sides together.  Sew across using a 1/4 " seam allowance.  Repeat for other piece.
  7. Press seam allowances toward flap fabrics.
  8. Set one unit aside.
  9. Pin 2nd unit to the piece of batting.  Quilt as desired.  We quilted ours by stitching in the ditch on the strips, and basting around the flap edges.  Trim batting even with fabric.
  10. If you wish to add an embellishment strip across the flap, and/or a wrist strap, prepare the 2 remaining fabric strips as follows in step 11.  If not, continue to step 13.
  11. Fold each strip in half, wrong sides together along the long edges and press.  Open up and fold each raw edge toward the center crease and press.  Fold the strips in half along the long edge so that the raw edges are hidden.   Pin the embellishment strip to the right side of the quilted flap and stitch down.  We used a large zigzag stitch.   
  12. Topstitch the wrist strap piece as desired.  Baste wrist strap to the left side of the quilted piece, about 1/2" below the flap seam, raw edges aligned, and loop of strap laying against quilted bag.
  13. Pin quilted piece and un-quilted piece right sides together.  Using a 1/4" seam allowance, sew around the clutch leaving a 4" opening along the long edge opposite the strap.  Trim the corners to reduce bulk.
  14. Turn the clutch inside out through the opening and slip stitch the opening closed.
  15. Press the bag.
  16. Fold the bottom up to 1/2" below the flap so that the quilted side is the outside.  Stitch each side seam about 1/8" from the finished edges to create the clutch.  Topstitch the flap edges as well, if you desire.
  17. Attach a large sew-on snap or pieces of Velcro to the underside of the flap and the outside of the clutch pocket for a closure.
(view of opened clutch with sew on snap and wrist strap)


(view of outside of clutch with embellishments)


(embellishment strip sewn on with large zigzag stitch)


(flower embellishment made with Clover Kanzashi Flower Maker, Pointed Petal, Size Lg, Osnaberg fabric, and Dritz Craft Cover Button size 7/8".  Fabric covered button is sewn onto flower.  A pin pack was hand sewn to the flower and the flower was then pinned to the clutch.)

 Thanks for joining us for another tutorial using our fun little "Teeny Packs".  Hope to see you at the shop!

TQL Card Case with Pockets Tutorial


     If you've been by the shop lately you may have noticed the cute little fabric bundles we've created to entice you when you're getting your fabric cut or waiting at the register.  We call them "teeny packs" and they are so much fun.  Five coordinating fabrics, each about the size of a piece of paper, and calorie free to boot! We are constantly thinking up different ideas for these and decided that it's time to turn a few of these ideas into tutorials for you, our fantastic customers! 
     Our first "teeny pack tutorial" (and our first blog tutorial ever) is for this cute card case with 2 pockets on each side and a simple elastic and button closure.  It's a fantastic little wallet for all those cards we seem to accumulate, a great gift to make for friends, and a wonderful use of a teeny pack.  You can actually make 2 from one of our packs!  The case measures about 3 1/8" x 4 1/8" and holds lots of cards or just a few, you decide!
     So let's get started!

Project Supplies:

1 "Teeny Pack"
1/4 yard fusible interfacing (makes 2 cases).  We use SF101 by Pellon.
6" piece of 1/8" elastic (or 2 elastic hairbands)
1 button (we prefer a button at least 1/2" in diameter or as large as 1")


Fabric Prep:

  1. Open up your teeny pack and decide which fabrics you would like to use.  Our card case uses a main or outer fabric, a different fabric for the lining, and a third fabric for both pockets.  You can be the designer!
  2. Press each piece.
  3. From the main/outer fabric, cut 1  - 4 3/4" x 7" rectangle.  You can "fussy cut" your piece or cut from one half if you want to make another card case.
  4. From the lining, cut 1 - 4 3/4" x 7" rectangle.
  5. From the pocket fabric cut 2 - 4 3/4" x 8 1/2" rectangles.
  6. From the interfacing cut 2  - 4" x 6 1/4" rectangles (for the main and lining fabrics) and 2 - 4" x 7 3/4" rectangles (for the pockets.) 
  7. Following the manufacturer's directions, fuse the interfacing pieces to each fabric piece.

Sewing:

* Please note, we will use a 1/4" seam allowance throughout this project.
  1. Measure 2 1/4" down along the 8 1/2" sides of the pocket and mark on both sides.  (We will work on one pocket and then you will follow the directions again for the second pocket.)
  2. Fold fabric, wrong sides together, at the 2 1/4" mark and press.
  
3.  Topstitch close to folded edge.


4.  On the lining, measure up 2 7/8" on each 6 1/4" side and make a mark.


5.  Measure down 1 7/8" from the folded edge of the pocket and draw a line from edge to edge with           an erasable marking pen or pencil.  Lay the pocket on top of the lining, matching the folded edge with the marks on the lining.  Pin in place.  Stitch across the marked line.  (This creates a "bottom" for the card pocket.)          

(oops...forgot about getting a manicure!)


         (Top and side edges of pocket are not stitched down.)

         (Back side of lining and pocket.)


6.  Measure up 2 3/8" from the bottom of the pocket and draw a line across it.  Fold on the line, wrong sides together and press.


7.  Topstitch close to the folded edge.  Be careful not to catch the lining while topstitching.


8.  Grab hold of the fold that you just topstitched and fold it up toward the first finished edge until the pocket and lining bottom raw edges meet.  Pin in place and press.  


9.  Baste around both sides and the bottom of the pocket piece. 


     (One side done, one side to go!)   
     
10.  Repeat steps 1 - 9 for the other pocket on the other end of the lining.


11.  Mark the center of one short end (4 3/4" side) of the pocket.  Cut your 6" piece of elastic in half.  If you are using hair bands use one of the hair bands.  Make a loop with the elastic being careful not to twist it and stitch it over the mark, within the 1/4" seam allowance, loop facing the pocket.  (If you are using a hair band, pinch into a loop and stitch in the same way.  You will have a smaller loop on the raw edge side instead of the 2 cut ends of elastic.)


12.  Place your main/outer fabric over your pocket panel right sides together.  If you have one side of the outer fabric that you would like to be on the front of your card case, align it with the edge opposite the elastic.  Stich both long edges but leave an opening on one side, in the middle about 2 1/2" - 3" long, backstitching at the end and beginning of the opening to lock the stitches in place.  This will be the opening for turning the case inside out.  (You can also baste across the opening with a longer stitch length, finger press the seam, and then remove the stitches before turning.  This may help with getting a nicer edge for topstitching later.)


(basting stitches) 


13.  Before stitching across the short ends, fold the seam allowances over and pin in place.  This will create neat, square corners on your finished case.  (I learned this trick years ago watching a sewing show on PBS and can't remember which one.  Thanks to the wonderful woman who taught me this!....Did I just date myself or what?)   


(clip the corner, but only the SHORT ENDS!)

14.  Carefully turn your card case right sides out.  Use a blunt tool to ease out the corners.  If your corner does not ease out square, you may need to poke it in again and push the seam allowance to the other side.  This sounds confusing, but try it!  Pin the opening closed. Please note that I have chosen not to discriminate in pin choice.  Just remember to only iron/press over the glass headed ones :)
   

15.  Press your card case flat, being careful not to melt your elastic loop!

16.  Stitch a fun button to the outside fabric opposite the elastic end.  Be careful not to sew the pocket closed!


          Hope you enjoyed our first tutorial.  See you at the shop!